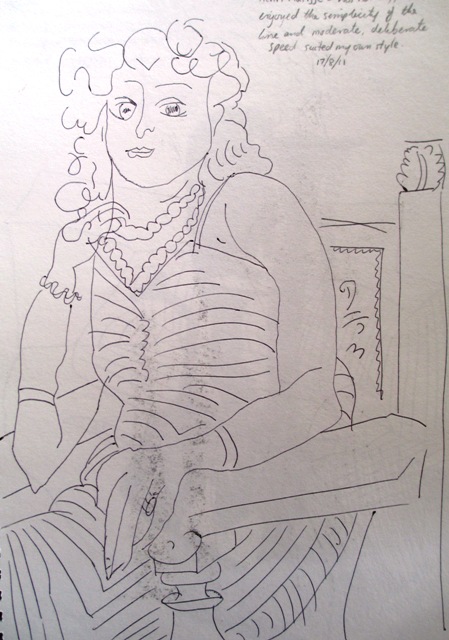
So, Henri Matisse is usually the go to man for contour line practice in these types of textbooks. On the left is his Three Quarter Nude Head Partly Showing (1913). It shows the contour line forms overlapping and moving towards and away from the viewer. In this case the three dimensionality illusion is communicated by occasionally leaving gaps between the lines, changing the weight of the line (heavy and light strokes) and controlling where the line starts and stops.
On the right is an exercise from Bert Dodson's Keys to Drawing of copying a master's style and work (in this case Matisse) to get a feel for the simple linear style or contour line style that he uses. His line work is simple, elegant and of most importance to him. Light, shadow, perspective and accurate features were not important. I found this exercise interesting, as Matisse's drawing technique is quite out of my own comfort zone, personally, I'm more practised and comfortable with using lots of tone to convey form. I'm finding it useful to review these linear techniques and styles to remind myself of the broad variety of drawing techniques and styles and not get too locked into my comfort zone in terms of art creation.
0 Comments
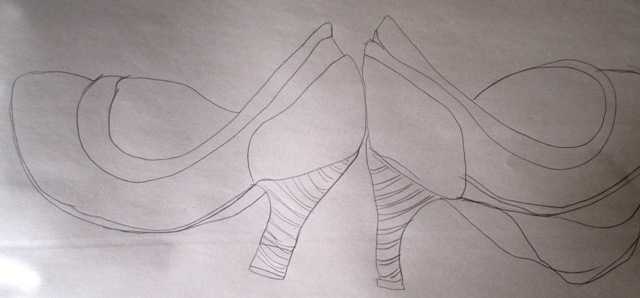
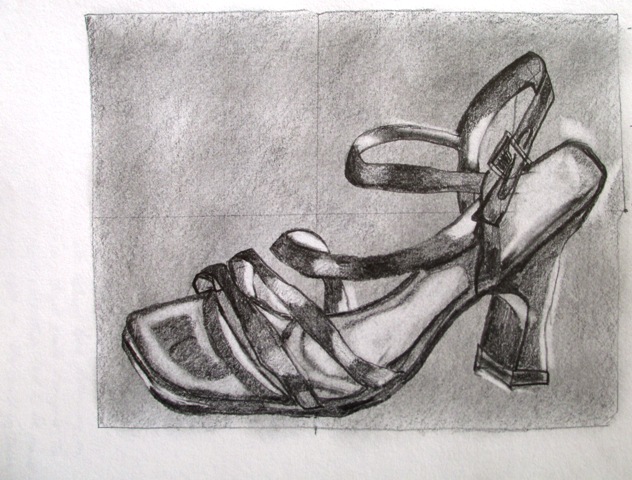
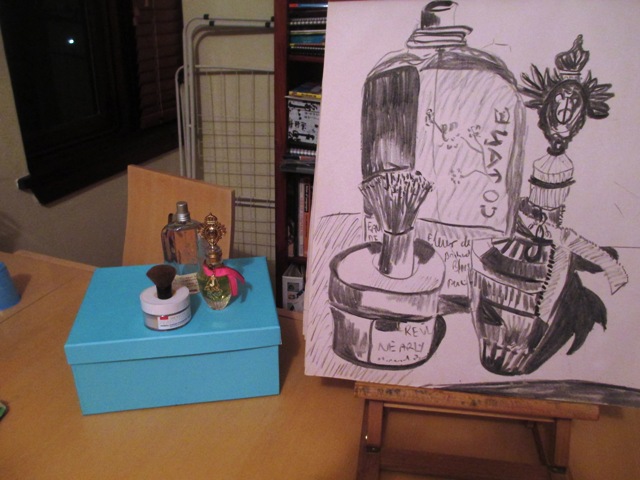
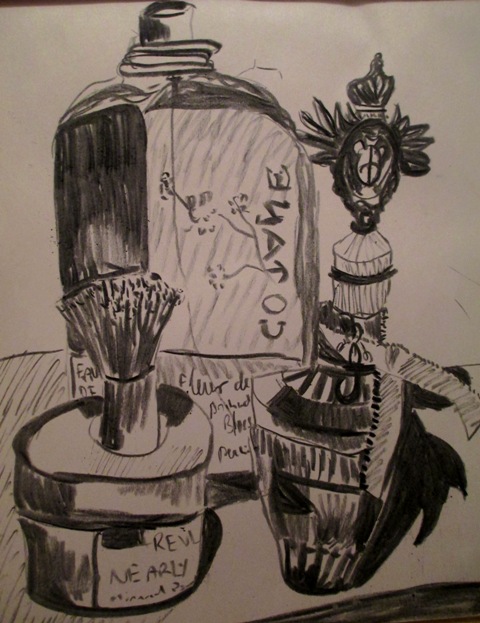
So, the next chapter is all about the contour line and a good explanation is given by Smagula about the difference between gestural lines and contour lines, in that gesture lines are used to visually express the basic shapes, movement and feel of the forms, whereas contour lines more accurately describe the exact shape of the form by carefully recording the placement of the edges and contours. Being confident with recording line accurately is obviously really important for improving drawing skills and being able to record line expressively to recreate 3D forms onto 2D paper is a skill that takes a lot of practice to be able to achieve a variety of visual effects. Above is a drawing with graphite pencil of a pair of my shoes, trying to carefully observe the shapes I am outlining. I tried to keep an eye on the subject rather than on the paper and followed the contours of the shoes with continuous lines. Shoes seem to be a popular subject for contour line practice ! 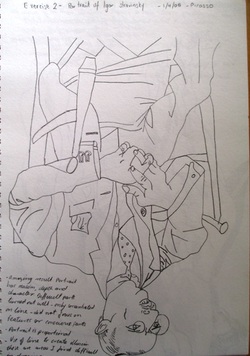 This was an exercise from Drawings on the right side of the brain by Betty Edwards I did a few years ago where you had to copy a line drawing by Picasso (Portrait of Igor Stravisnky) upside down and covered up, only revealing a bit at a time. The outcome was a very accurate copy of the drawing and accurate placement of the lines, as your mind was tricked into only observing the shape of the line and not on the overall image of a man.
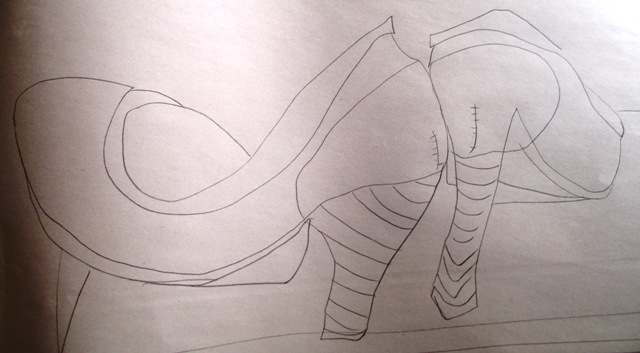
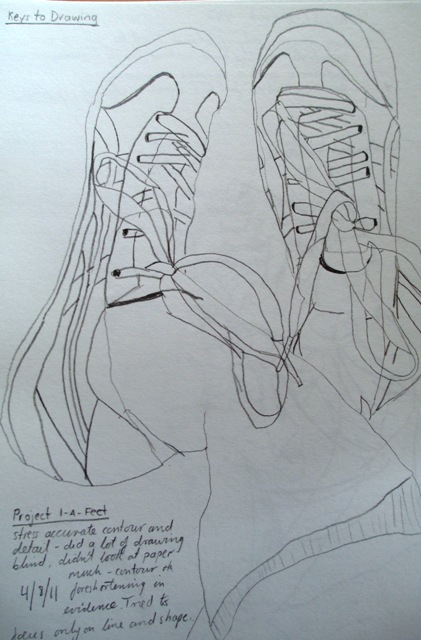
Some more shoe drawings from a few years ago. The first two were contour exercises from Drawings on right side of the brain and using a picture plane. Obviously a greater degree of realism or photo realism can be achieved with a picture plane, as the proportions are accurate. The drawing on the right is a contour exercise of my Onisuka Tigers from Keys to Drawing by Bert Dodson. As I said... shoes... shoes.. .shoes... !!
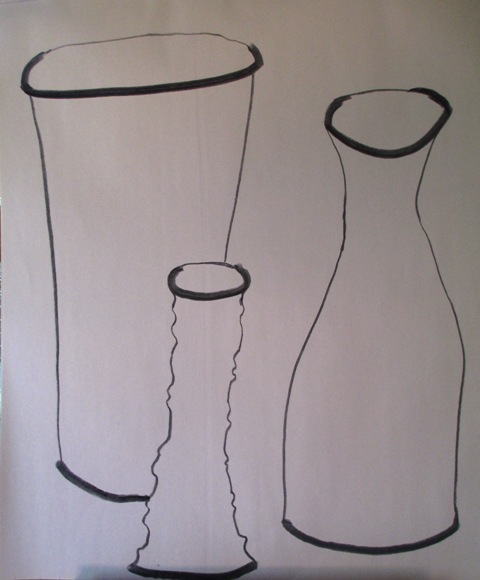
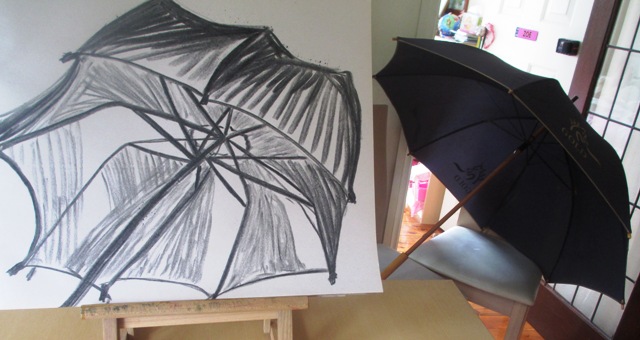
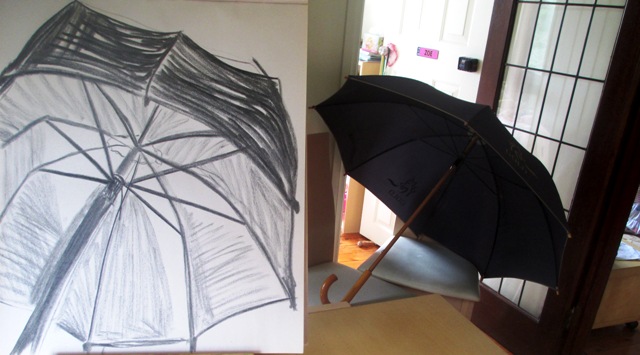
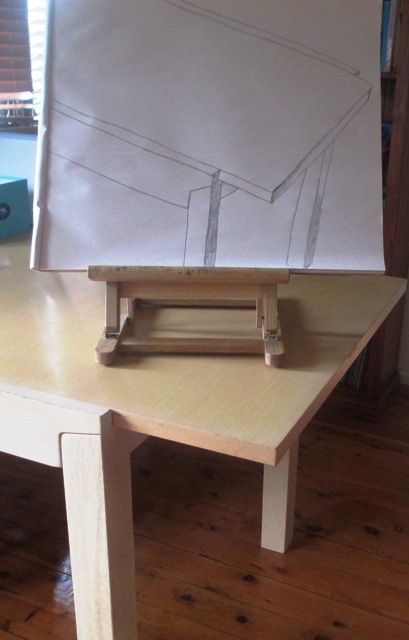
The above drawing of the umbrella is with charcoal and is more practice with sighting angles and proportional drawing of shapes and angles. Initially I was unhappy with the results I'd achieved with this and once again lamenting my poor ability to draw things in proportion, but now on second thought, although not absolutely correct, the form is not too bad (well, at least it looks like an umbrella !) The spokes are actually angled reasonably correctly I think and most of the problem is with the canopy shape. Anyway, the project did stipulate it was a "complex" subject...
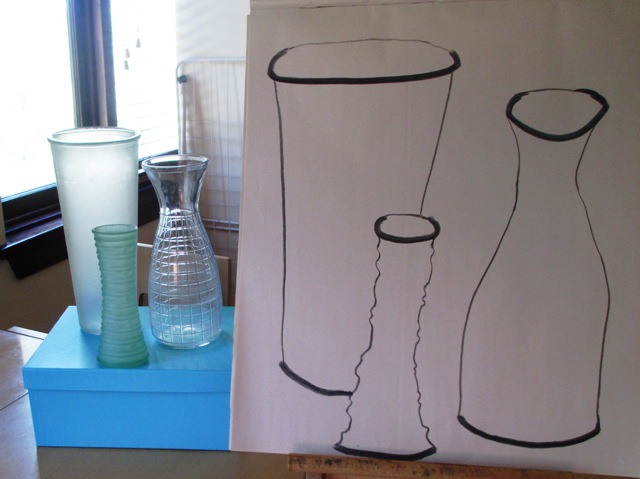
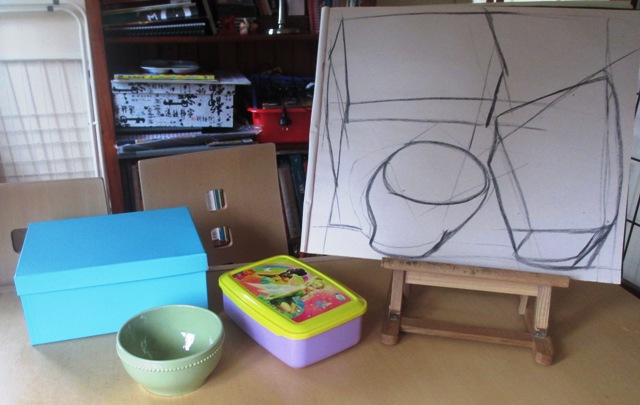
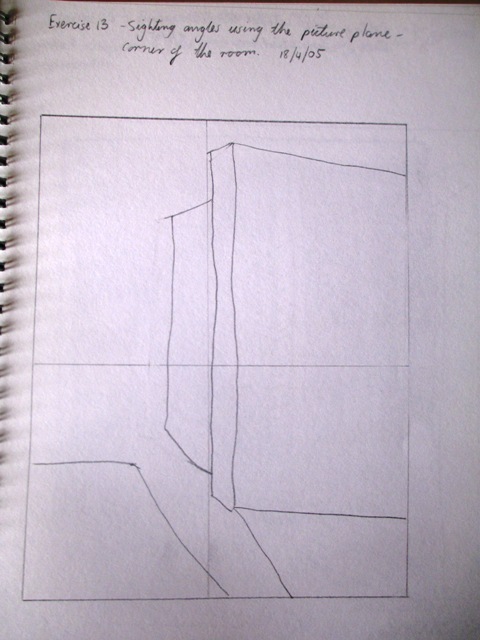
Here are some short exercises focusing on planning, structuring compositions and analysing visual relationships. The theory is that all that gestural quick stuff I've been practising, along with some meaningful structure, should be the basis of eventually achieving effective drawing skills. Well, I tend to do a lot of this compositional thinking with my watercolour paintings already without being too conscious of exactly how I'm doing it.. but it's always useful to review things, even though in truth these exercises were a bit boring ! Probably quite useful though, especially if you haven't done a lot of drawing or painting before. The drawing on the left is a practice of "blocking out" a composition which is basically determining the spatial relationships and proportional relationships between the objects and the dimensions of the paper. It's concerned with visually comparing and checking angles and proportional length of the subject and what you are actually drawing. You should end up with a "map" of your composition. My proportions did not turn out well or correct as you can see, so it would have been best for me to do a few more versions and concentrate a bit more on accuracy, as I think drawing things in correct proportion is a major area in need of improvement by myself -that's what I'd say if I had to analyse my stuff in a seriously stern manner ! Ok, more work needed at some point on this topic... The drawing on the right of the edge of the table is to practice sighting with a pencil to determine angles and proportions. I'd done a bit of this before through Bert Dodson's book "Keys to drawing" - in fact I think his instructions were a bit clearer than Mr Smagula's in reference to this and other topics. I find this guy (Smagula) is waffling on a bit much and the actual instructions associated with each exercise can sometimes be quite vague. I probably wouldn't recommend this book for a complete beginner... but anyway, will persevere, as it is at least very comprehensive.
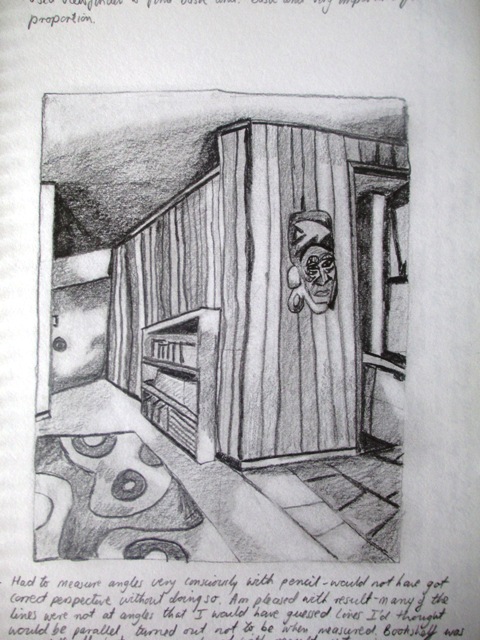
These are some drawings I did a few years ago from the wonderful Betty Edward's "Drawing on the Right Side of the brain" book (a book I would highly recommend to beginners or anyone who hasn't discovered it yet!) The one on the left is of the side of a room using a picture plane (pretty much the only way I can make an absolutely technically correct proportional drawing). The drawing on the right, using pencil is using sighting techniques with a pencil (explained very clearly by Ms Edwards) to measure angles and proportions of the inside of my old apartment. Things are slightly off in parts (door?) but generally not a bad effort, considering my problems with proportion...
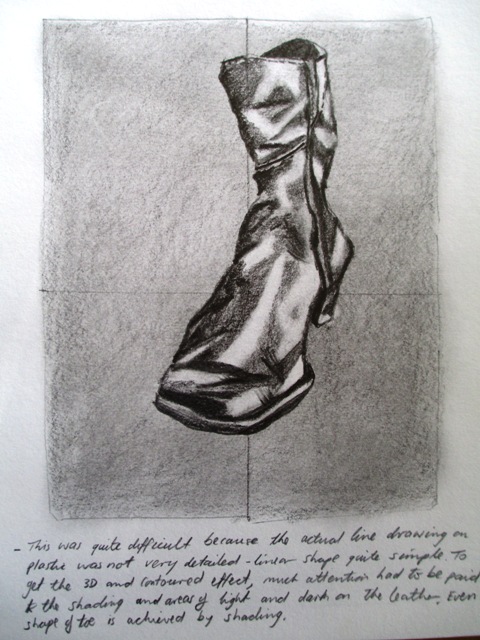
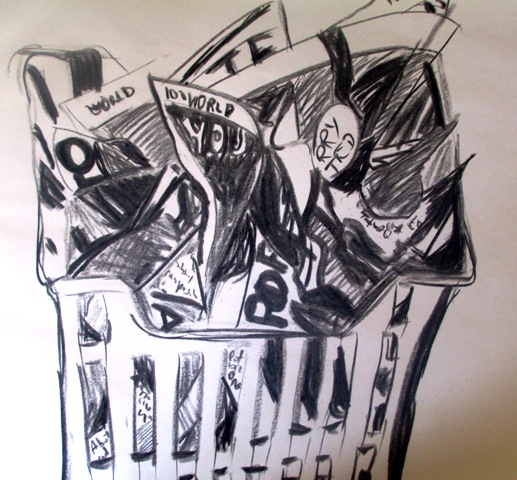
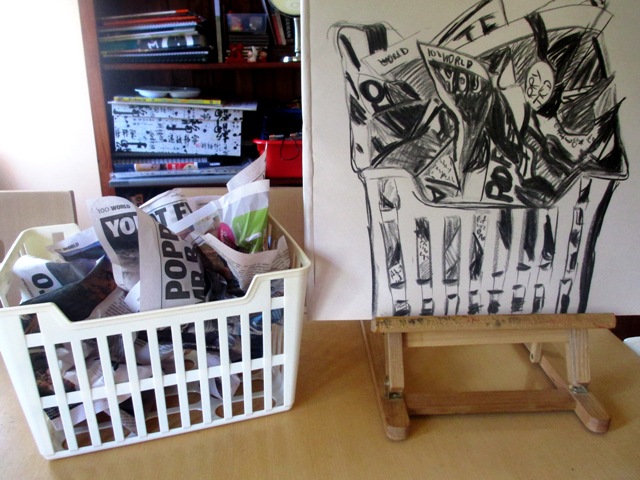
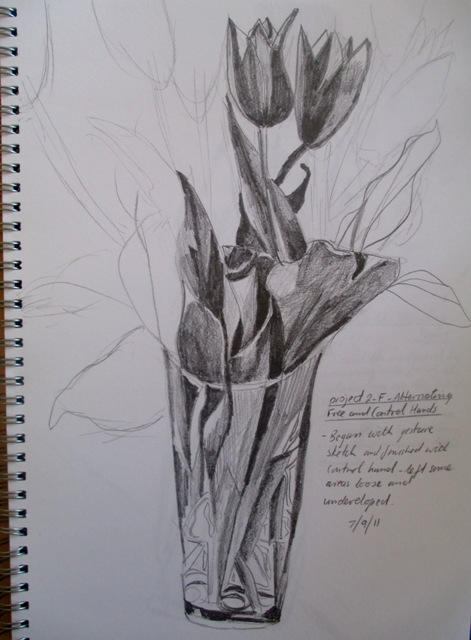
This exercise of drawing the crumpled newspaper in a wastepaper container in charcoal was supposed to combine the aspects of the previous exercises in gesture drawing with a bit more detail. The time limit was around 10 to 20 minutes so as not to get bogged down in detail, to still maintain the energy and dynamic visual effects of a gesture drawing. It was challenging drawing the folds in the paper and getting the shading correct, but I felt fairly bold with the drawing and think I achieved a good balance of spontaneous gestural lines and more controlled detail in the newspaper print. I'm happy with the three dimensionality of the form and with the way I've used the space and the overall outcome of this subject matter. I'm definitely getting more familiar with to how to use the charcoal to achieve the visual effects I want. The drawing on the right is an exercise I did a few years ago from the book "keys to drawing" by Bert Dodson about using a combination of free hand and controlled hand in drawing. This drawing illustrates the different modes used and how you switch between the modes. Usually this process is unconscious. 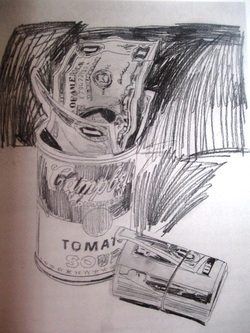 This is Andy Warhol's "Campbell's soup can and dollar bills" 1962 in pencil. It is a good example of the integration of quick gestural drawing in the upper half, with the careful placement of the forms and the more accurate details of the wad of notes and dollar bills. 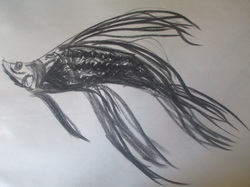 A gestural drawing of my friend's fish. Just for fun...
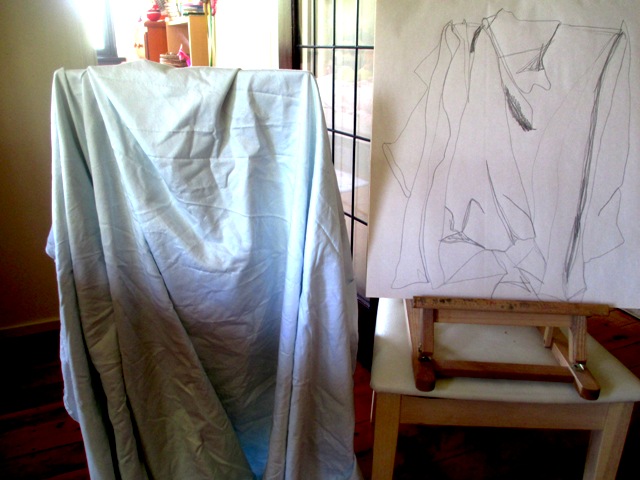
The drawing on the left is a continuous line drawing of bed sheets using a graphite pencil. The drawing was made with one continuous line, not taking the pencil off the paper and keeping my eyes on the subject. The point is to learn to co-ordinate my eye movements with the movement of my drawing instrument. This is to practice perception in drawing and making sure you are drawing from direct experience rather than memory.
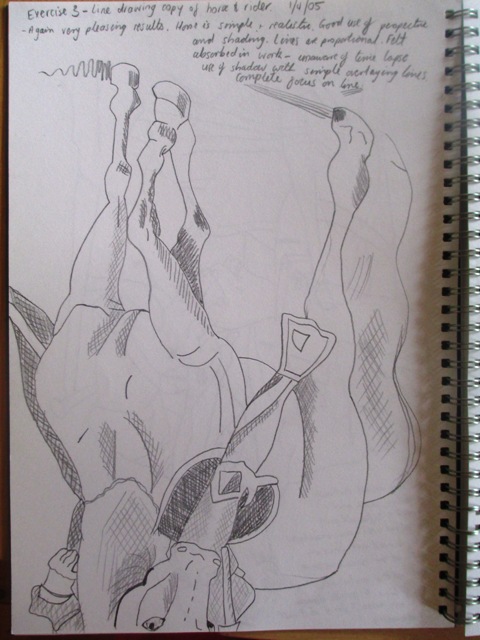
On the right is another interesting exercise in perception I did a few years ago from the highly recommended book "Drawings on the right side of the brain" by Betty Edwards. I had to copy the lines of an artwork upside down so that my left brain couldn't figure out what was going on and my right brain could function unimpeded ! Amazingly, it was all perfectly proportioned when I turned it around. She gives a good explanation for the process of learning to draw with direct perception rather than relying on memory and symbols of how you think things look but not as they really are. This book really helped me gain a lot of confidence in my drawing abilities when I worked through it almost ten years ago now, and the exercises were mostly interesting. "Be clear in your mind why learning to draw well is important. Drawing enables you to see in that special, epiphanous way that artists see, no matter what style you use to express your special insight. Your goal in drawing should be to encounter the reality of experience... to see ever more clearly, ever more deeply." (Betty Edwards) Here is a good explanation of Betty Edwards' Left brain / Right brain theory if you are unfamiliar with it. It's really very interesting ! http://www.drawright.com/theory.htm It can be difficult to shut off that left brain at times, so I find doing these types of exercises when I get a chance keeps my brain practiced in that right brain mode and this kind of perception definately becomes easier the more you practice. It's like brain training for artists.... |
AuthorSacha Grossel is a practising Visual Artist from Australia. Archive
February 2019
Categories
All
|


 RSS Feed
